8.10 Notes
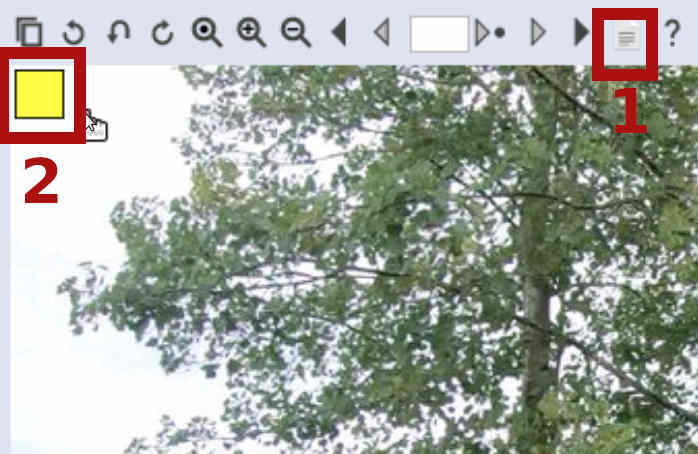
With the sticky notes, additional information can be deposited directly on the pages of a dôcument. This can be additional text information, but also covers of sensitive data with rectangles or highlighting are possible. Sticky notes are managed in the page view using the button/button below.

 Important: The above button/button will only appear if you have previously switched to the 'Edit' tab in 'Main view'. In 'Page view' the button can also be activated with the function key Shift+F5.
 Normally, additional information about pages should be recorded in a (fixed!) database field and not unstructured in the sense of a 'note management' as a sticky note. In some cases (e.g. when printing and passing on the digital document), sticky notes can nevertheless be of good service.
To open a sticky note, click on the button above. You will then find a yellow rectangle at the top left of the page view on the page.
To edit the sticky note, you can right-click inside it. The options window will appear.
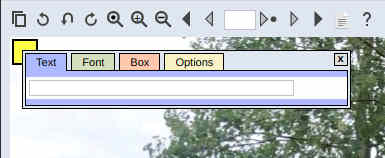
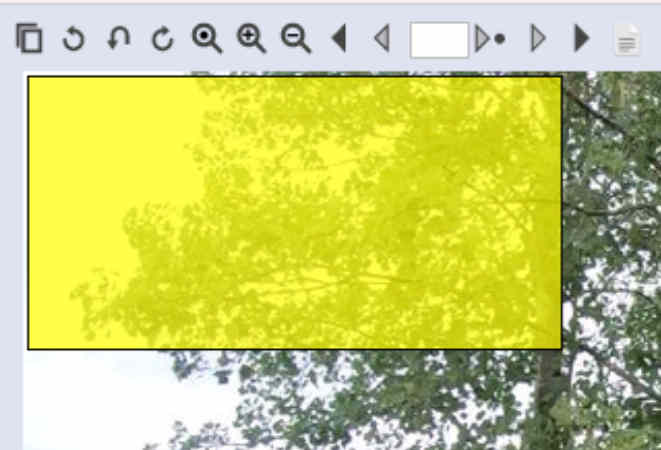
Use the mouse to resize the sticky note.
Of course, text can be added to the sticky note. Optionally, this can also be rotated.
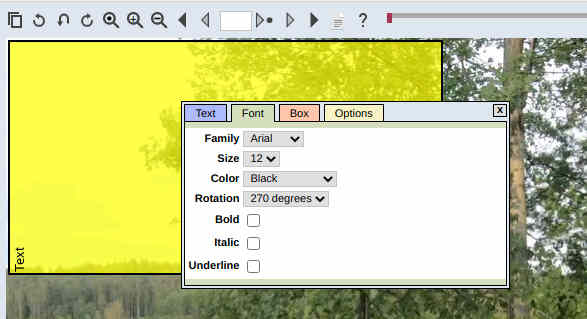
Also possible is to cover the background completely.
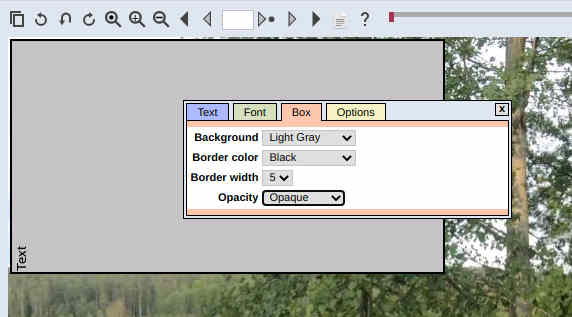
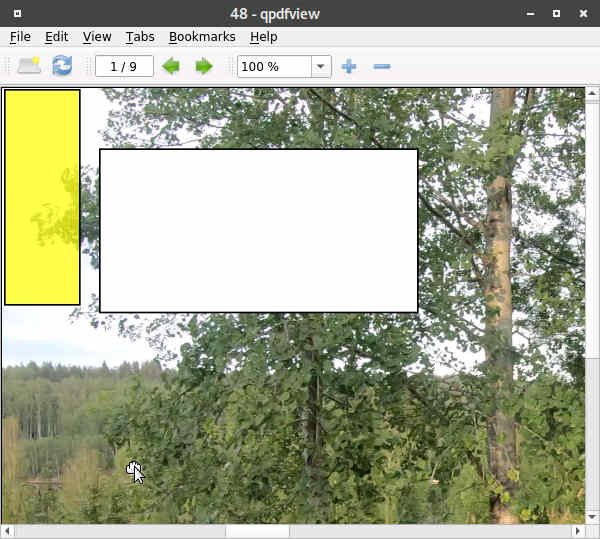
Often individual page areas should be covered. Below, an area is covered in white (of course, black would also work).
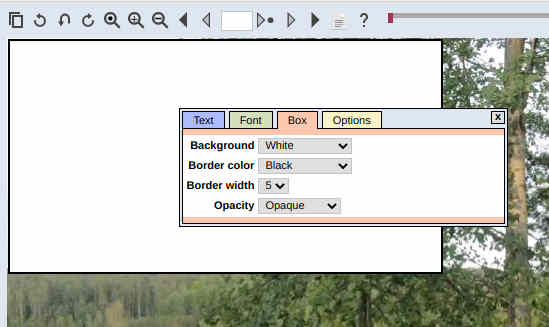
Up to 32 sticky notes can be included per page, each of which can be given completely different attributes.
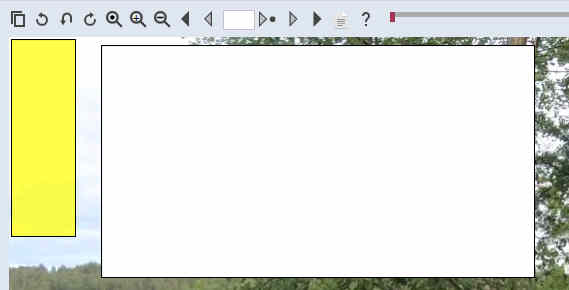
Sticky notes, once captured, 'stick' to the page. This means that they will be zoomed in, even when rotating a page the sticky notes will 'move' with it.
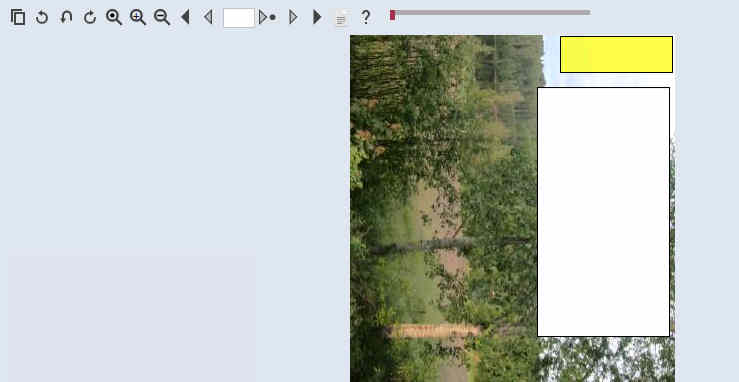
Sticky notes can also be edited again in WebDMS, i.e. they are not written to the image file. Only when a PDF file is created, the sticky notes are written directly into the image file. It can't be that a covered black area under the sticky note is still readable.
