Videos automatisiert optimieren
Egg, 26. Februar 2024: Seit einigen Monaten besteht auf dem ArchivistaBox-Desktop die Möglichkeit, Videos so zu optimieren, dass diese in HD-Qualität möglichst wenig Speicherplatz benötigen. Neu gibt es die entsprechenden Tools auch bei der Open Source Linux Distribution AVMultimedia. Ebenfalls in der neuen Version 2024/II gibt es das Hilfsprogramm ’subtitleadjust‘, um Untertitel-Dateien effizient zu bearbeiten bzw. zu modifizieren.
Hürden bei Optimierung von Videos
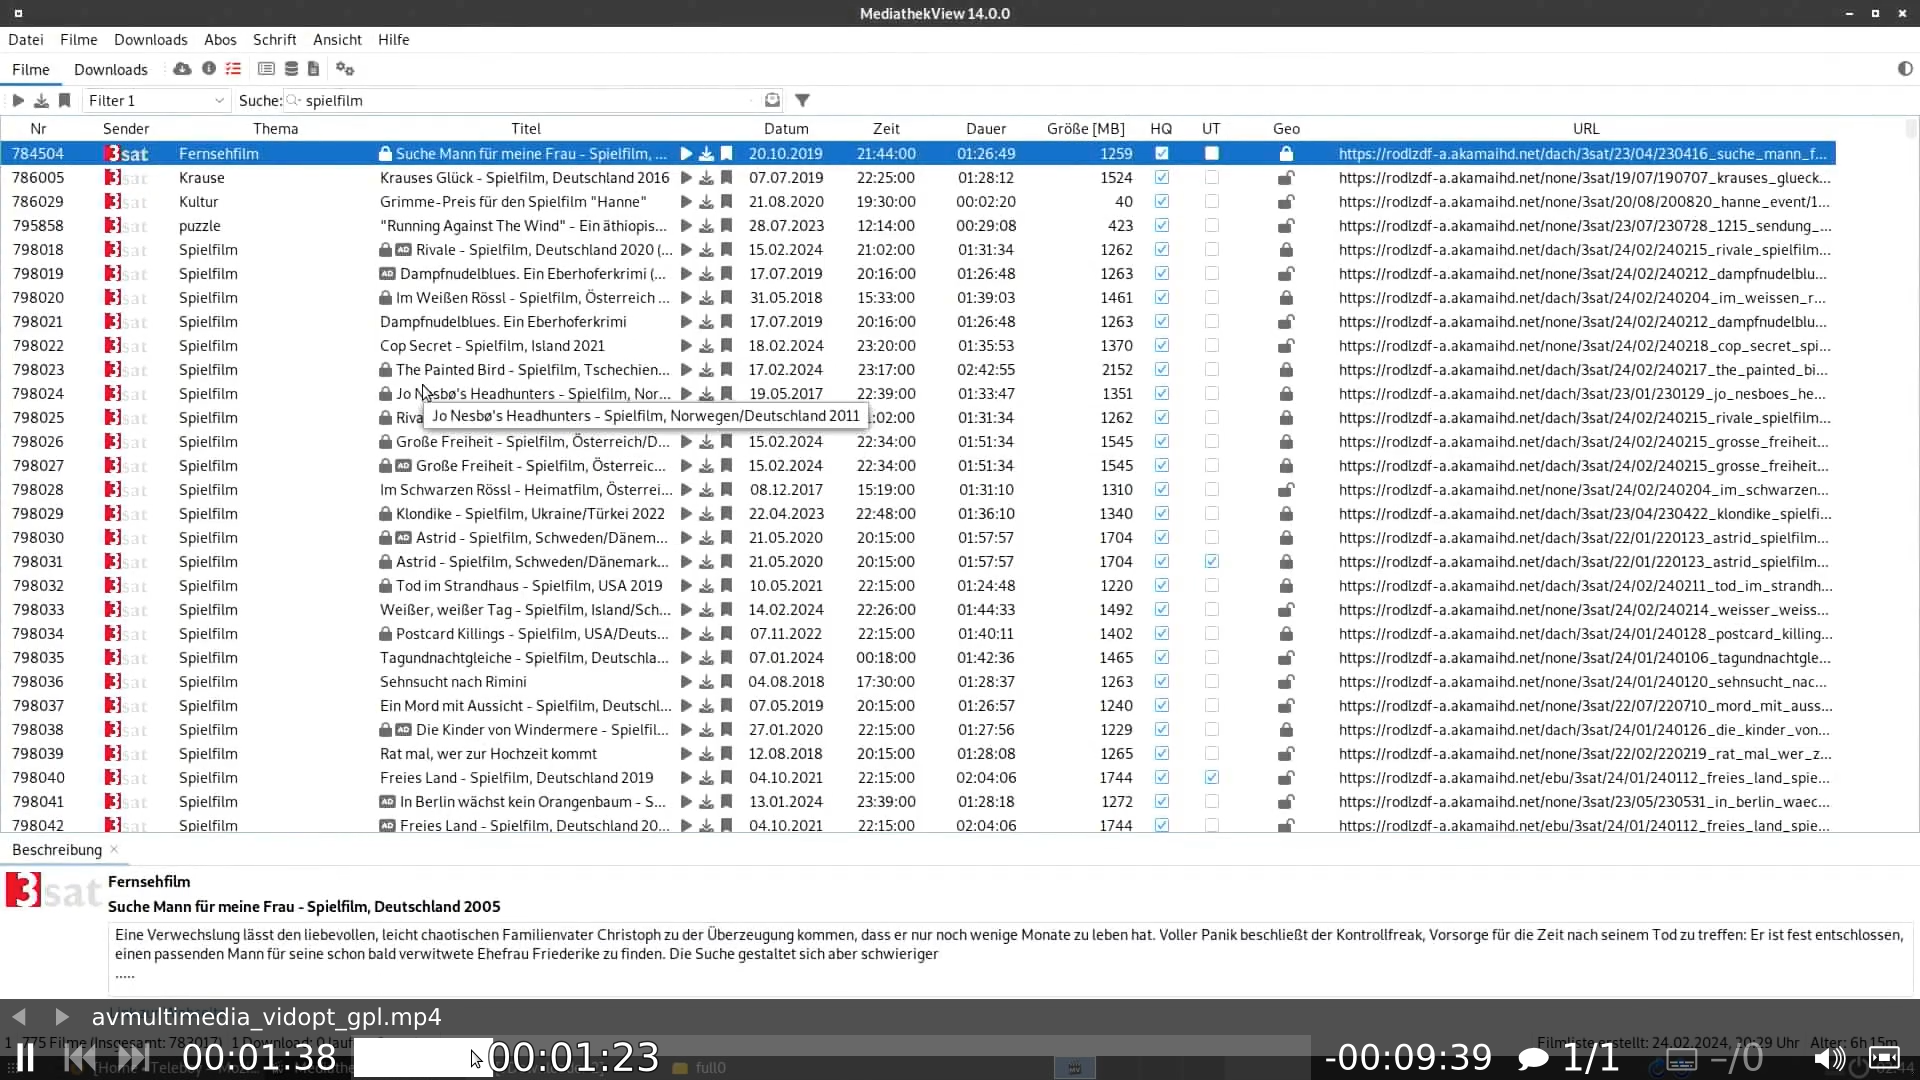
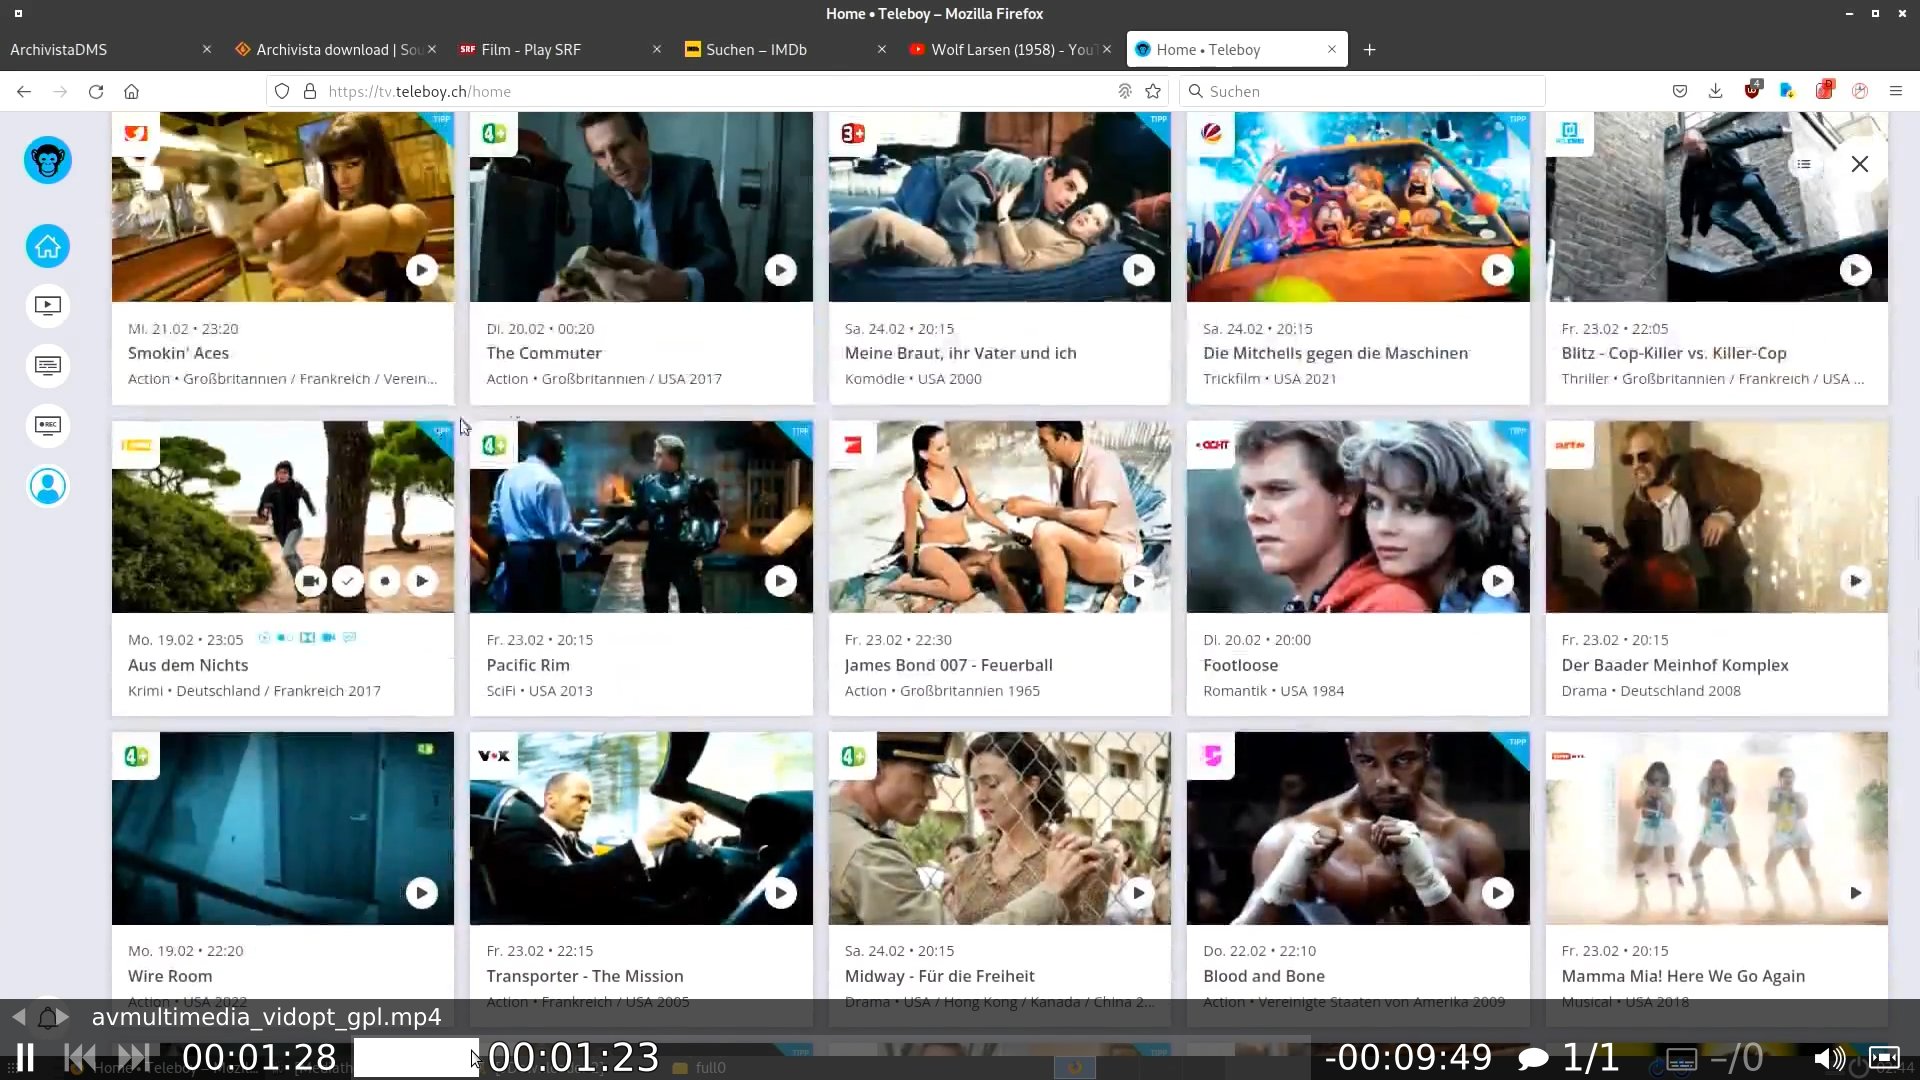
Zunächst zur Frage, warum die hier vorgestellte Lösung überhaupt entstanden ist. Aktuell können im Rahmen der Privatkopie über viele legale Quellen Video-Dateien bezogen werden. Sei dies über MediathekView, sei es über das Internet-Fernsehen wie Yallo.tv oder Teleboy.tv oder selbst bei YouTube (hier am einfachsten über FreeTube). Leider liegen diese Dateien in sehr unterschiedlicher Qualität vor.
Dabei entstehen oft erkleckliche Dateigrössen, welche z.B. für ein privates Filmarchiv die Festplatte arg strapazieren. Ein Film, der bei Teleboy in HD-Qualität heruntergeladen wird, umfasst gut und gerne 6 bis 9 GByte. Bei MediathekView kann zwar die Qualität beim Download mitbestimmt werden, doch entsprechen die Attribute ‚Hoch‘, ‚Mittel‘ und ‚Niedrig‘ gerade nicht, dass die entsprechenden Videos nur schon in gleicher Auflösung vorliegen.
Und wer an dieser Stelle anfügen möchte, ein privates Filmarchiv finde immer auf einer Festplatte Platz, dem sei gesagt, dass z.B. ein Spielfilm wie ‚Der gute Hirte‘ (bezogen über MediathekView) ca. 6.5 GB Platz benötigt. Hochgerechnet auf ein TB sind dies 130 Filme. Nach der Optimierung mit den hier vorgestellten Tools benötigt der gleiche Film noch ca. 1.2 GB.
Natürlich können Video-Dateien auch mit Standardprogrammen wie FFMPeg oder VLC konvertiert werden. Allerdings ist nicht immer ganz einfach, die richtigen Parameter zu «erwischen». Denn je nach vorliegender Qualität der Ursprungsdateien werden andere Parameter benötigt.

Automatisierte Optimierung mit vidopt
Die hier vorliegende Lösung ist genau aus diesem Grunde entstanden. Das «Erraten» der optimalen Werte für ffmpeg klappte oft, aber nicht immer. Liegt ein Film in 50 Bilder/Sekunde vor, so kann er mit 25 Bilder/Sekunde recht einfach komprimiert werden. Jedoch sollte 25 Bilder/Sekunde bei Dateien mit 29,97, 30 Bilder/Sekunde eher nicht angewandt werden. Bei 60 Bilder/Sekunde ergibt es mehr Sinn, die Optimierung mit 30 Bilder/Sekunde durchzuführen.
Ein Film, der mit 1920×1080 Pixeln vorliegt, kann relativ «gefahrlos» auf HD-Qualität mit 1280×720 Pixel skaliert werden. Nicht ganz so einfach gestaltet sich die Sachlage, wenn der Film mit 1440×720 Pixeln vorliegt. Soll dieser auf 960×480 Pixel optimiert werden?
Ferner können Video-Dateien viele Audio-Spuren enthalten. Natürlich kann es Sinn ergeben, bei Filmen, die mehrere Sprachen enthalten, diese auch zu erhalten. Dies ist aber eher nicht der Fall, wenn zwei oder mehrere Audio-Spuren vorliegen (z.B. eac3 und aac). Hier reicht eine Audio-Spur.
Die Optimierung der Videos erfolgt in drei Schritten. Bevor diese gestartet werden kann, müssen die zu optimierenden Dateien in einen Ordner gelegt werden (z.B. /home/archivista/data/in bei AVMultimedia). Danach sind nacheinander die folgenden drei Programme zu starten:
vidopt1 /home/archivista/data/in
vidopt2 /home/archivista/data/in
vidopt3 /home/archivista/data/in
Wichtig dabei zu erwähnen ist, dass vidopt2 erst gestartet werden kann, wenn sämtliche Dateien mit vidopt1 verarbeitet sind. Gleiches gilt für vidopt3. Zur Optimierung wird das Konsolenprogramm ‚ffmpeg‘ verwendet. Wer wissen möchte, wie diese Programme arbeiten, kann die Log-Dateien begutachten.
tail -f /home/data/archivista/av.log
tail -f /home/data/archivista/vidopt1.log
tail -f /home/data/archivista/vidopt2.log
Nach Abarbeitung der drei Programme finden sich im Verzeichnis die optimierten Videos vor. Die originären Filmdateien finden sich im folgenden Verzeichnis:
/home/archivista/data/vidbackup
Zum Schluss drei Anmerkungen: Erstens, die Optimierung erfordert erheblichen Rechenpower. 8 CPU-Kerne bzw. 16 Threads sollten minimal zur Verfügung stehen. Zweitens, je mehr CPU-Kerne, desto besser, da sämtliche CPU-Kerne plus/minus für die Optimierung verwendet werden. Drittens, die Optimierung erfolgt nur, wenn ffmpeg nicht bereits arbeitet. Damit ist sichergestellt, dass der entsprechende Rechner nicht zu stark mit Jobs belastet wird.

Optimierung von Untertitel-Dateien
Bei neueren Streams liegen zuweilen auch eine (oder mehrere) «Untertitel-Spuren» vor. Ältere Filme wiederum liegen oft nur in englischer Sprache vor. Bei bekannteren Werken lassen sich (z.B. über opensubtitles.org) oft deutsche Untertitel finden.
Jedoch, diese Untertitel passen dann doch irgendwie nicht. Sei es weil z.B. die Untertitel mit 24,97 Bilder/Sekunde vorliegen, der Film aber mit 25 Bilder/Sekunden etwas «schneller» läuft. Selbst ein solch kleiner Unterschied ergibt auf 90 Minuten Spielfilmlänge (3600*1.5*25.0-3600*1.5*24.97) 162 Bilder bzw. 6.48 Sekunden Differenz. Das reicht natürlich, um einen jeden filmischen Genuss zu «zerstören».
Ebenso können Untertiteldateien gleiche Textpassagen mehrfach enthalten. Dazu ein Beispiel aus der Tagesschau des Schweizer Fernsehens vom 21. Februar 2021:
00:03.600 --> 00:03.620
Mit Live-Untertiteln von SWISS TXT

00:05.200 --> 00:05.220
Mit Live-Untertiteln von SWISS TXT

00:07.380 --> 00:07.400
Guten Abend,
willkommen zur "Tagesschau".

00:08.400 --> 00:08.420
Guten Abend,
willkommen zur "Tagesschau".

00:10.000 --> 00:10.020
Guten Abend,
willkommen zur "Tagesschau".

00:10.640 --> 00:10.660
Das sind unsere Schlagzeilen
von heute Mittwoch:
Dies führt aktuell bei Video-Playern (z.B. mpv) dazu, dass gleiche Untertitel mehrfach eingeblendet werden, obwohl eine Einblendung auch reichen würde. Bei der Optimierung von Video-Dateien werden allfällige Untertitel automatisch optimiert. Aus obigem Beispiel wird:
00:00:03.520 --> 00:00:05.409
Mit Live-Untertiteln von SWISS TXT

00:00:07.380 --> 00:00:10.020
Guten Abend,
willkommen zur "Tagesschau".

00:00:10.640 --> 00:00:13.307
Das sind unsere Schlagzeilen^M
von heute Mittwoch:
Damit werden die Untertitel beim Abspielen nicht mehrfach (z.T. «flackernd») eingeblendet. Bei der Video-Optimierung wird automatisch das separate Tool ’subtitleadjust‘ aufgerufen. Liegt eine getrennte Untertitel-Datei vor, so kann ’subtitleadjust‘ auch einzeln aufgerufen werden. Um dabei allfällige Unstimmigkeiten in Geschwindigkeit oder Start zu beseitigen, gibt es entsprechende Optionen bei ’subtitleadjust‘:
subtitleadjust in.srt out.srt [change=*x.xxx|+hh:mm:ss|-hh:mm:ss]
Nach dem Namen der Ausgabedatei können Geschwindigkeit sowie die Startposition angepasst werden. Dazu zwei Beispiele:
subtitleadjust in.srt out.srt *0.999
Dies führt dazu, dass die Zeitangaben in out.srt entsprechend langsamer eingetragen werden (Korrektur von 25 auf 24.97 Bilder/Sekunde). Soll die Startposition um 20 Sekunden nach vorne verschoben werden, so kann dies so gelöst werden:
subtitleadjust in.srt out.srt -00:00:20
Manchmal weisen Untertiteldateien auch Zeichensätze auf, die nicht stimmig sind. Dazu gibt es das Programm subtitlefix8859-1. Um eine Untertiteldatei einem Video anzufügen, kann der folgende Befehl verwendet werden:
subtitle videoohne.mp4 subtitle.vtt videomit.mp4

Abschliessende Bemerkungen
Die hier vorgestellten Programme vidopt1, vidopt2, vidopt3 und subtitleadjust liegen auf jeder AVMultimedia-Distribution unter /home/cvs/arcihvista/jobs im Quelltext vor. Damit ein einfacher Aufruf möglich ist, gibt es die Wrapper vidopt1, vidopt2, vidopt3 und subtitleadjust unter /usr/bin.
Zusätzlich gibt es Wrapper, um Video- und Untertitel-Dateien entsprechend anzupassen. Die wichtigsten Tools wären:
videoonly video.mp4 videooonly.mp4 [tracknr]
videocombine videoonly.mp4 audioonly.mp4 video.mp4
videocombine2 videoonly.mp4 audio1.mp4 audio2.mp4 video.mp4
audioonly video.mp4 audioonly.mp4 [tracknr]
subtitle video.mp4 subtitle.srt|subtitle.vtt videosubtitle.mp4 [deu|eng|fra]
subtitle2 vidonly.mp4 audio1.mp4 audio2.mp4 sub.srt|sub.vtt vidout.mp4 [lang]
subtitleonly video.mp4 subtitle.srt [tracknr]
subtitlefix8859-1 subtitle8859-1.srt subtitleutf8.srt
All diese Helferlein sind kleine Wrapper, die das Arbeiten mit dem Konsolenprogramm ‚ffmpeg‘ etwas vereinfachen. Als Beispiel sei hier videocombine2 angeführt:
#!/bin/bash
if [ ! "$1" ];then
  echo "$0 videoonly.mp4 audio1.mp4 audio2.mp4 video.mp4"
  exit 1
else
  in="$1"
  a1="$2"
  a2="$3"
  out="$4"
  ffmpeg -i "$in" -i "$a1" -i "$a2" \
    -map 0:v:0 -map 1:a:0 -map 2:a:0 -c copy "$out"
fi
Wer oft mit ffmpeg arbeitet, benötigt die Hilfsprogramme eher nicht. Wer jedoch nicht täglich mit ffmpeg arbeitet, für den dürften diese Tools eine Hilfe darstellen. Ferner sei angeführt, dass es aktuell keine grafisches Tools für alle hier vorgestellten Helferlein gibt. Der Aufruf über die Konsole ist aber bewusst einfach gehalten, sodass dies in der täglichen Arbeit kein Problem darstellen sollte.
Zum Abschluss sei die folgende Bemerkung erlaubt. Die hier vorgestellten Programme umfassen ca. 1500 Zeilen Code. Die Programme wurden auf mehrere Tausende von Video-Dateien angewandt. Die Fehlerquote liegt bei 1 bis 2 Promille, die mit den Testdateien nicht zufriedenstellend optimiert wurden. Dabei musste festgestellt werden, dass eine Datei zu stark oder zu «schwach» optimiert wurde.
Bis die Tools so liefen, wie es aktuell der Fall ist, waren einige Hundert Stunden Arbeit notwendig. Die Arbeit erfolge aus der Motivation heraus, dass es für ein privates Filmarchiv nicht zweckdienlich sein kann, mehrere Festplatten mit vielen Dutzenden von TB anschaffen zu müssen.
Eine Komprimierung von Videos führt immer zu gewissen Verlusten bei der Qualität. Gemessen am gesparten Preis bei der Hardware dürfte dies das kleinere Übel darstellen. Nach Auffassung des Autors kann mit einem handelsüblichen Beamer durchaus ein Home-Cinema-Erlebnis erzielt werden, selbst wenn «nur» HD-Qualität (1280×720 Pixel) vorliegt. In diesem Sinne, viel Spass mit AVMultimedia 2024/II.
Hinweis: Kunden der ArchivistaBox sei gesagt, selbstverständlich stehen diese Tools auch bei der aktuellen Version der ArchivistaBox zur Verfügung. Bei den optionalen Anwendungen (z.B. LosslessCut) ist es so, dass für Kunden der Flag ‚optos‘ gesetzt werden kann. Ist dies der Fall, wird beim Update die Datei opt.os mitinstalliert. Und weil der Flag erstmalig mit Version 2024/II zur Verfügung steht, muss einmalig das Update auf die Version 2024/II zweimal durchgeführt werden.